Setting Up Vercel KV
Vercel KV is a fully-managed, durable, low-latency key-value storage solution used in our project for rate limiting. This guide will walk you through setting up Vercel KV for your project.
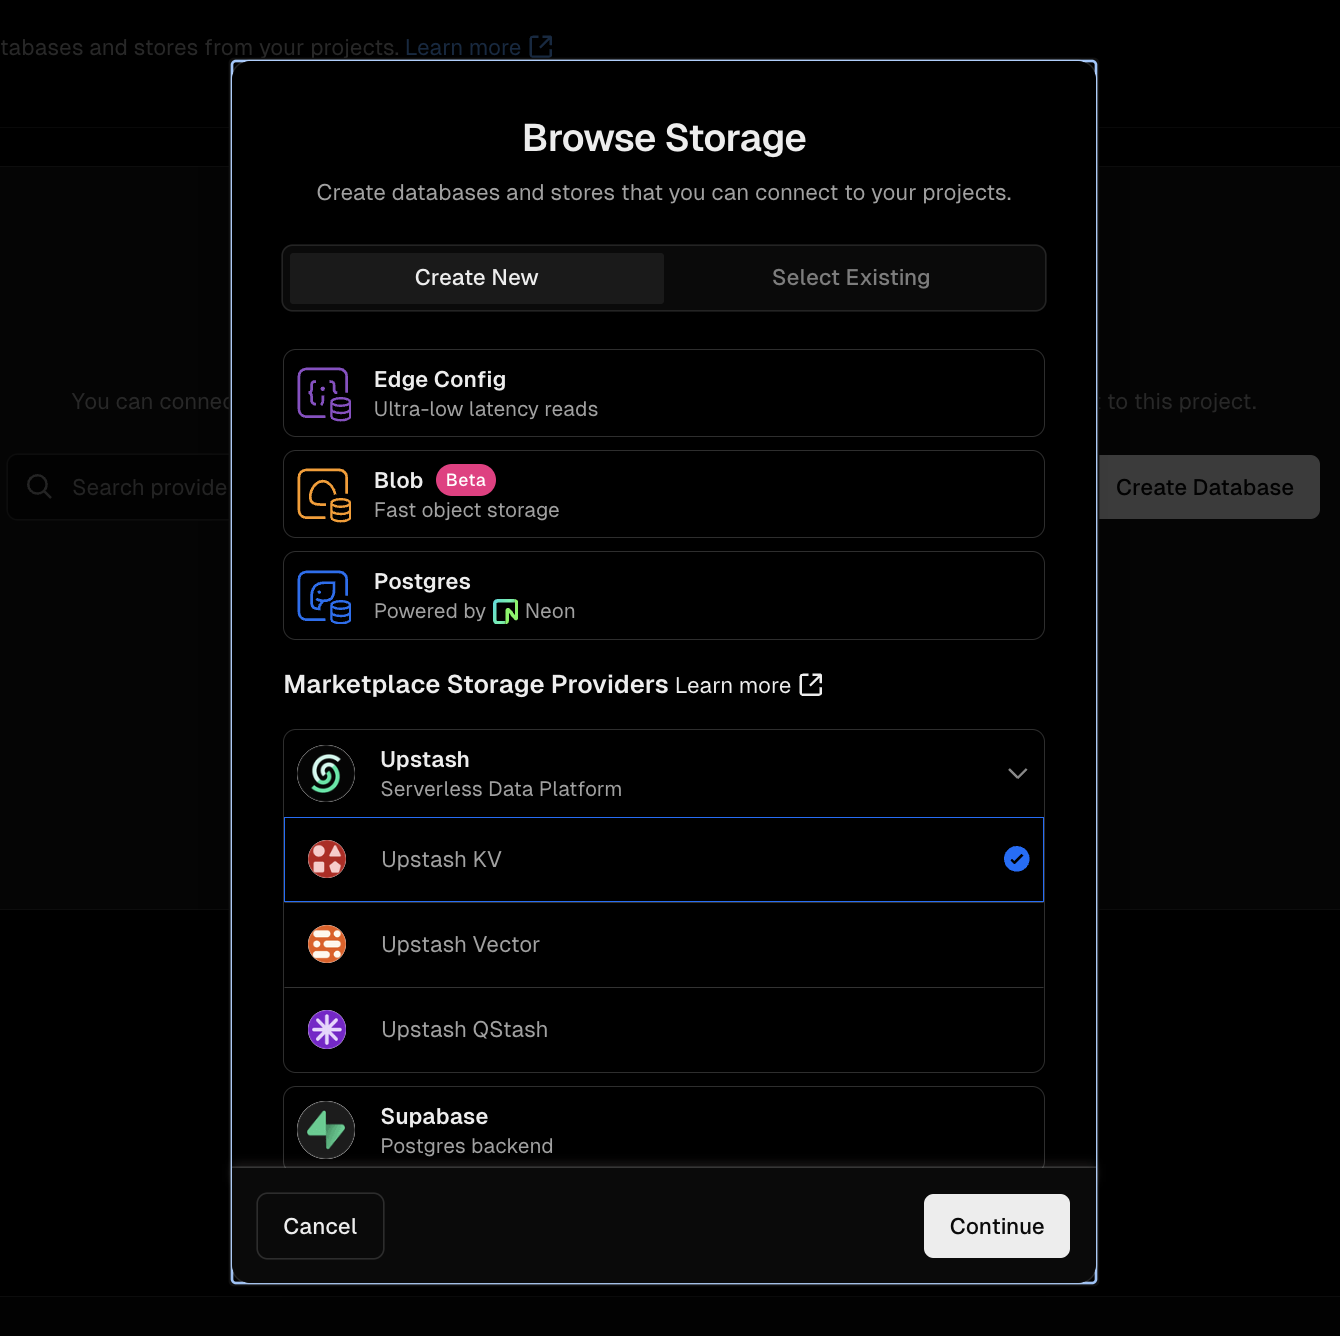
Steps to Set Up Vercel KV
1. Create a KV Database
- In your Vercel dashboard, go to "Storage".
- Click "Create Database".
- Click "Upstash" and then "Upstash KV".
- Complete the form and click "Create".
2. Link KV to Your Project
- In the KV dashboard, click "Link" next to your project name.
- Vercel will automatically add the necessary environment variables to your project.
3. Copy Environment Variables
After setting up KV for your project, Vercel will provide you with environment variables. Copy these to your apps/web/.env.local file:
Replace the placeholder values with the actual values provided by Vercel, these should be like this:
KV_URL="redis://default:your-url-here"
KV_REST_API_URL="https://your-api-url-here"
KV_REST_API_TOKEN="your-token-here"
KV_REST_API_READ_ONLY_TOKEN="your-read-only-token-here"
Best Practices
- Keep your
apps/web/.env.localfile updated with the latest KV environment variables. - Never commit your
apps/web/.env.localfile to version control. - Ensure these variables are also set in your Vercel project settings for production deployment.
Troubleshooting
- If you encounter connection issues, verify that your environment variables are correctly set in both Vercel and your
apps/web/.env.localfile. - Use the Vercel CLI to debug KV issues locally:
vercel env pull apps/web/.env.local
vercel dev
By properly configuring Vercel KV, you enable efficient rate limiting in your application, enhancing its performance and security.