Stripe Test Mode Setup
Stripe handles payments for your SaaS. This guide covers setting up Stripe in test mode for development.
Note: Test mode lets you simulate payments without processing real transactions. Look for the banner at the top of your dashboard to confirm you're in test mode.
-
Create a Stripe Account
- Sign up at stripe.com if you haven't already.
- Ensure you're in test mode by checking the toggle in your Stripe Dashboard.
-
Get Your API Keys
- Go to the Stripe API Keys page.
- Get your test mode keys (they start with
pk_test_andsk_test_).
-
Create Products and Prices
- Set up your subscription plans in the Stripe dashboard.
- Note the Price IDs for each product (they start with
price_). - Store them in your
apps/web/.env.localfile:
NEXT_PUBLIC_STRIPE_PRICE_ID_SINGLE_PAYMENT=price_single_payment
NEXT_PUBLIC_STRIPE_PRICE_ID_SINGLE_PAYMENT_SECONDARY=price_single_payment_secondary
NEXT_PUBLIC_STRIPE_PRICE_ID_MONTHLY_SUBSCRIPTION=price_monthly_subscription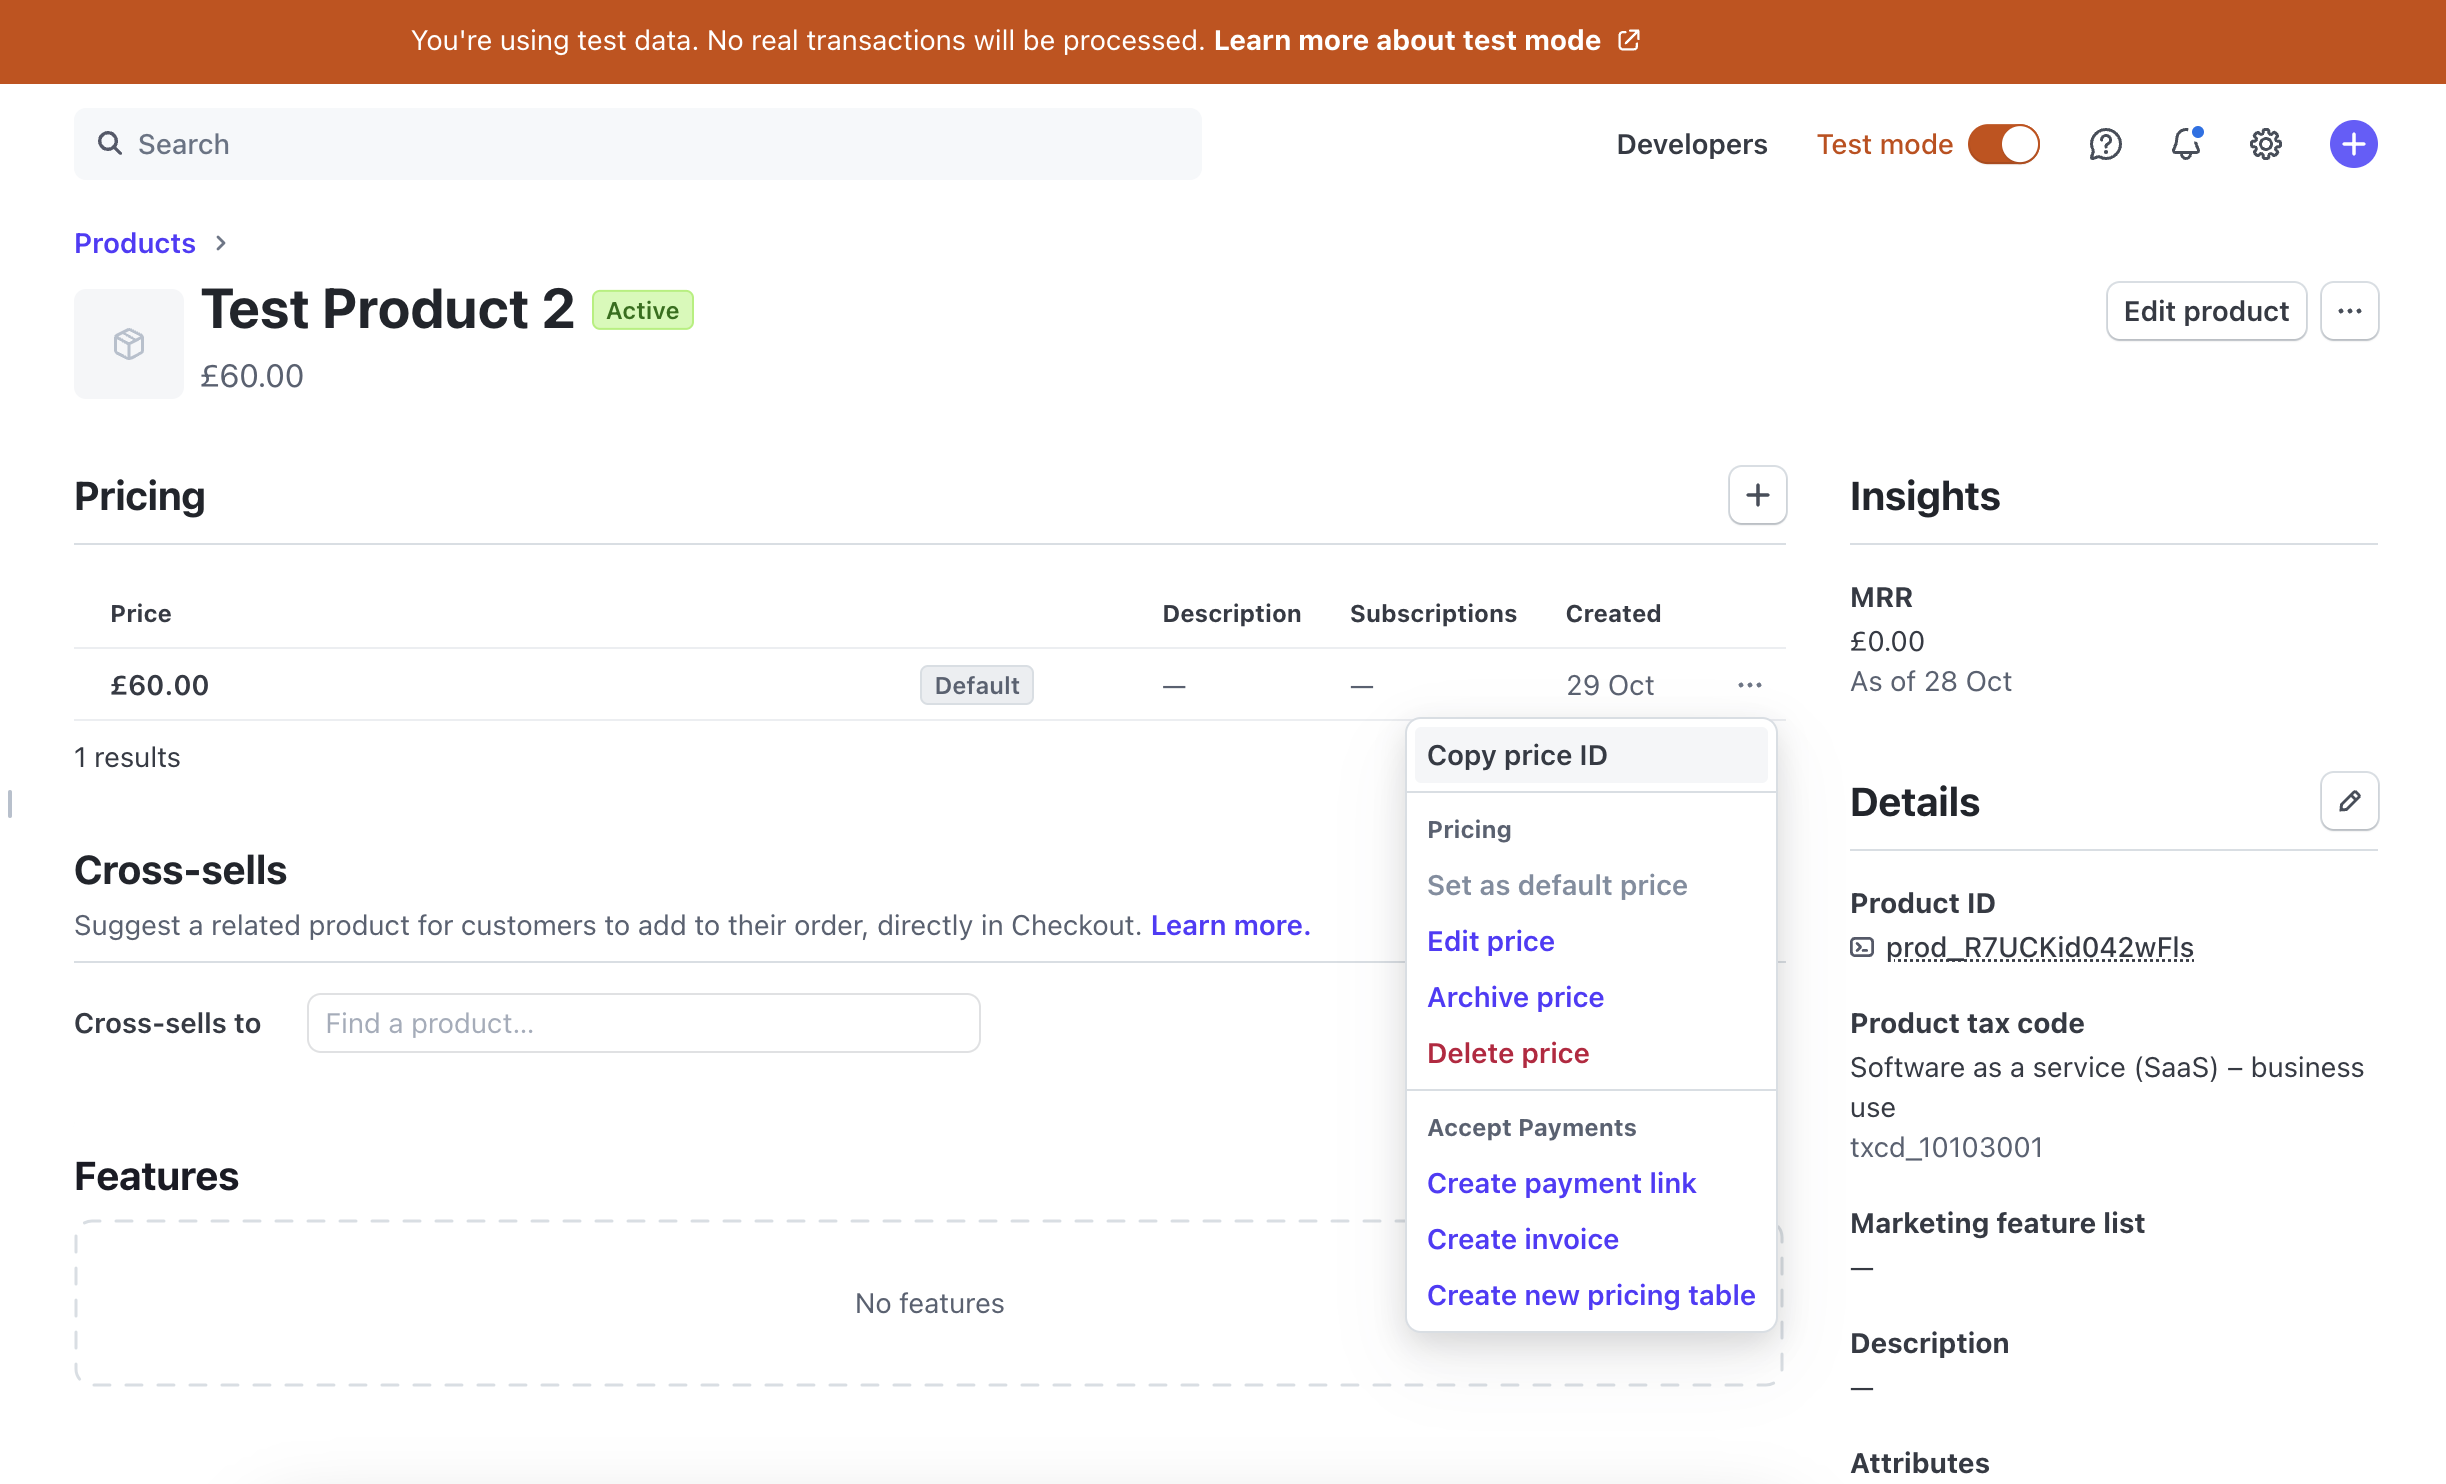
-
Set Up Webhook Testing
- Ensure you have the Stripe CLI installed.
- Run
stripe listenin your root directory to get a webhook secret. - The CLI will generate a webhook signing secret starting with
whsec_. - This secret is specifically for local development testing.
-
Update Environment Variables Add the following to your
apps/web/.env.localfile:NEXT_PUBLIC_STRIPE_PUBLIC_KEY=pk_test_your_public_key
STRIPE_SECRET_KEY=sk_test_your_secret_key
STRIPE_WEBHOOK_SECRET=whsec_your_webhook_secret
NEXT_PUBLIC_STRIPE_PRICE_ID_SINGLE_PAYMENT=price_single_payment
NEXT_PUBLIC_STRIPE_PRICE_ID_SINGLE_PAYMENT_SECONDARY=price_single_payment_secondary
NEXT_PUBLIC_STRIPE_PRICE_ID_MONTHLY_SUBSCRIPTION=price_monthly_subscription
Remember to always use test mode keys when developing and switch to live mode only when you're ready to accept real payments.
Important: Never commit your
apps/web/.env.localfile to version control.